Sunday, 31 July 2011

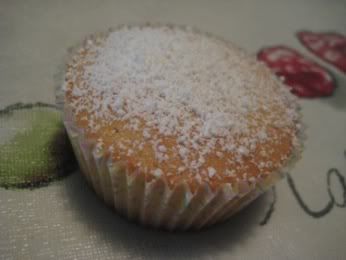
Lemon Olive Oil Teacakes

It was Katy's birthday party last night and she requested non-chocolate cupcakes, so I decided to try out this recipe that I adapted from Just Jenn Recipes. It came out pretty well and had a nice texture to it - and it's also lactose free!


I managed to get 22 regular-sized cupcakes out of this recipe.

Ingredients
3/4 cup extra virgin olive oil
1 large lemon (zest and juice)
1/2 cup plain flour
1/2 cup self-raising flour
2 eggs
3/4 cup sugar
Icing sugar for dusting

Directions

  1. Preheat oven to 180 C. Prep a mini cupcake pan with liners.

  2. Sift the flours together in a small bowl. Grate the lemon zest directly into the flour and set aside.

  3. In a small bowl, squeeze all the juice out of the lemon and set aside.

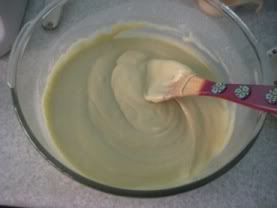
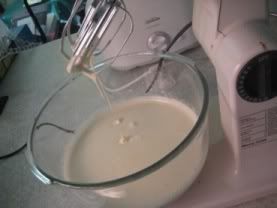
  4. In the bowl of an electric mixer, beat the eggs and sugar until thick and pale:

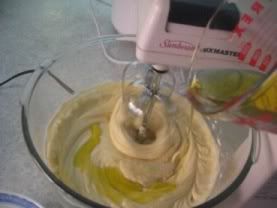
  5. On low, slowly add the flour mixture, then the olive oil, and finally the lemon juice. You will get a lovely, smooth, glossy batter.


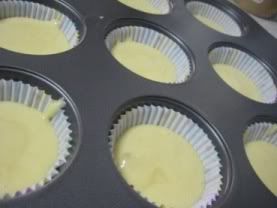
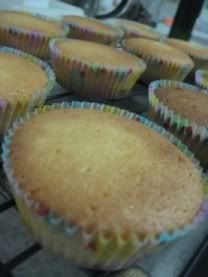
  6. Pour the batter into the prepped baking cups. Bake for 10-15 minutes until a toothpick comes out clean. Cool on a wire rack.


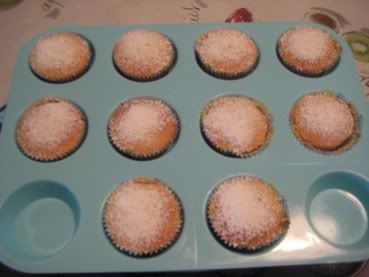
  7. Once cool and ready to serve, dust icing sugar over the tops of the cakes. Enjoy!

Monday, 25 July 2011

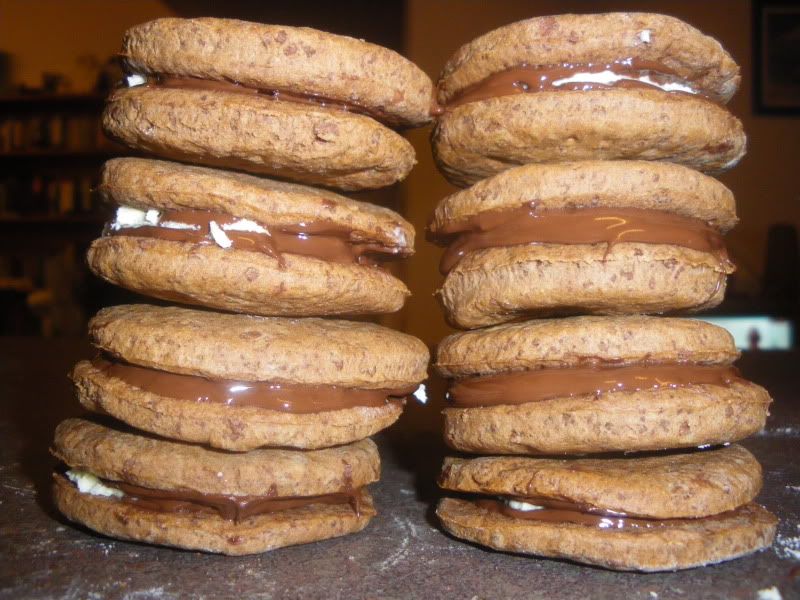
Choc-Mint Sandwiches

I was inspired by the mint slice cake to attempt something else minty and chocolatey, and also transportable. I adapted my favourite gingerbread recipe to make it chocolate (and not gingery at all), and then added some fun fillings to make a really tasty combination.

Photobucket

--

For the Biscuits
1/4 Cup Golden Syrup
200g Butter, split into two 100g lots
1/2 Cup Brown Sugar
1 Egg
2 Cups Flour
1/4 Cup Self-Raising Flour
1 Teaspoon Bicarb Soda
1/4 Cup Cocoa

For the filling
1 Cup Icing Sugar
70g Butter
1 tsp Peppermint Essence
150g Dark Chocolate

Directions
  1. Preheat oven to 180C
  2. Cream 100g butter and sugar
  3. Mix the egg into the sugar and butter
  4. Add the dry ingredients and mix well
  5. Melt the Chocolate and second lot of butter together, mix into the rest of the ingredients.
  6. Take the mixture out of the bowl, and knead it lightly.
  7. Roll it out quite thin, and cut out an even number of circular biscuits. Place them on lined/greased baking trays
  8. Cook for approximately 15 minutes.
  9. Leave to cool in trays for around 15 minutes, then remove from tray.
  10. Beat the icing sugar, butter for the icing, and the peppermint essence together to form a thick icing.
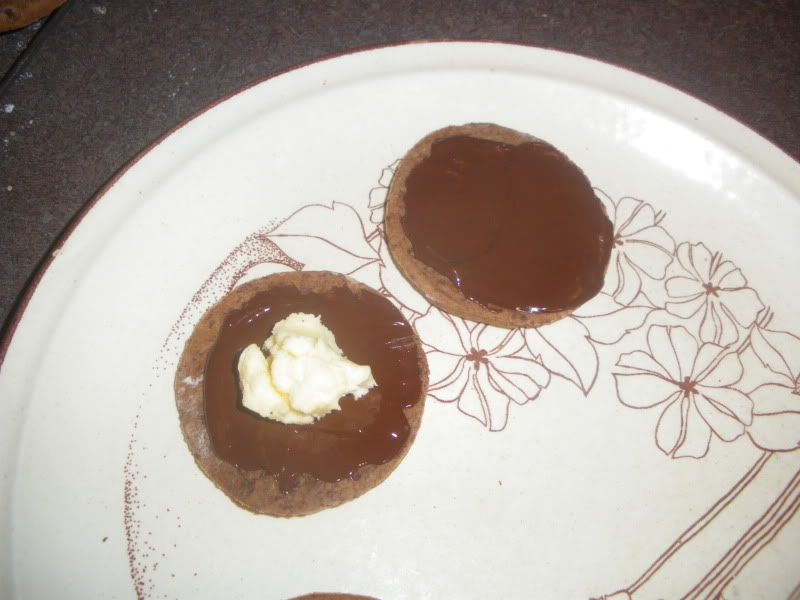
  11. Melt the chocolate, and spread a thin layer on the underside of each biscuit.
  12. Place a small dollop of mint icing on top of a layer of chocolate,
Photobucket

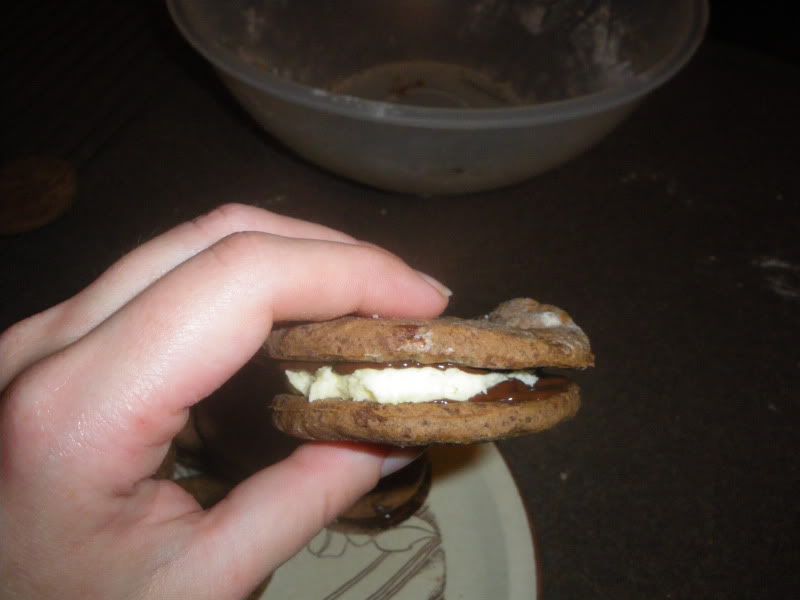
and then sandwich another biscuit on top, squashing together to spread the mint icing out.
Photobucket

13. Leave to set.
14. Eat.

Thursday, 14 July 2011

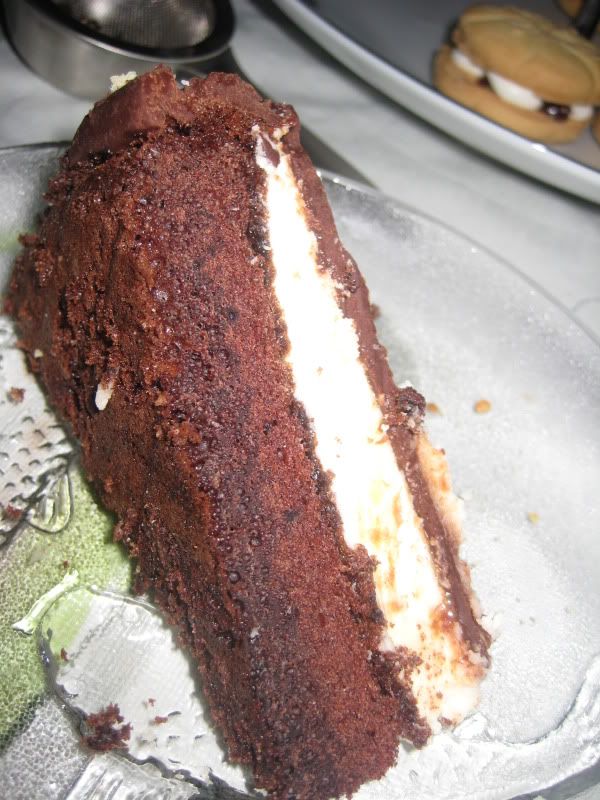
Mint Slice Cake

Mint Slice biscuits is definitely up there in my list of favourite sweet treats. I took this recipe from Raspberri Cupcakes, and it's amazing! Mine definitely is not as pretty as hers, so take a look at her blog for better pictures and more delicious recipes.

I made the cake almost exactly according to her recipe, but I halved the mint icing and used less chocolate in the ganache topping.
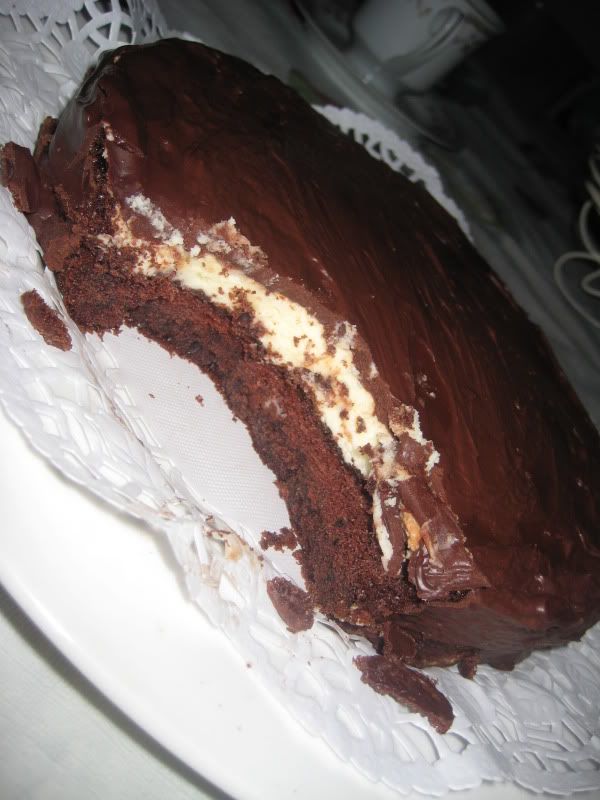
Mint Slice Cake 1


Ingredients
2 large eggs
55g (1/4 cup) caster sugar
32g cornflour (cornstarch)
17g Dutch-process cocoa
2 tsp plain flour
1/2 tsp cream of tartar
1/4 tsp bicarb soda
25g unsalted butter, melted and cooled

For the mint icing:
50g butter, removed from the fridge 30 minutes before starting
1 1/2 cups icing sugar, sifted
1 tsp milk
1 tsp peppermint essence

For the chocolate ganache topping:
150ml pure cream
100g 70% cocoa dark chocolate (I used Lindt)


Directions

  1. Grease and line one 20cm round cake tin. Preheat oven to 180°C.

  2. Whisk eggs and sugar in an electric mixer until thick and pale (5-6 minutes). Sift over cornflour, cocoa, flour, cream of tartar and bicarb soda, fold in with spatula. Fold in butter, spoon into prepared tin.

  3. Bake in centre of oven until cake springs back when lightly pressed (this took me 15 minutes). Turn onto baking-paper-covered wire rack and cool completely.

  4. Prepare the mint icing: beat butter and icing sugar together until light and fluffy, then add mint essence and milk and beat until smooth. Spread over the top of cake and smooth with a spatula.

  5. To make the ganache, place cream in a small saucepan on low heat. Just as it starts to come to the boil, remove from the heat and cool for a couple minutes. Pour hot cream over chocolate and set aside to allow chocolate to melt. Mix cream and chocolate together until smooth using a whisk, then cool until it reaches room temperature and thickens.

  6. Pour ganache over the top of the cake, using a spatula to ensure the ganache covers all the top and sides of the cake. Chill in the fridge until the ganache sets, then peel off the bottom baking paper and serve cake at room temperature.
Mint Slice Cake 1

Saturday, 21 May 2011

Katy's Extremely Chocolate Brownie

Katy's Extremely Chocolate Brownie
(adapted from a recipe by Donna Hay)

*
picture coming next time I bake this :)*

Ingredients
200g 70% Cocoa Dark Chocolate
250g Butter
1 3/4 cups Brown Sugar
4 Eggs
1/3 cup Cocoa Powder
1 cup Plain Flour
1/4 teaspoon Baking Powder
150g White Chocolate Chips

Directions
  1. Preheat Oven to 160C.
  2. Melt the chocolate and butter together, allow to cool slightly.
  3. Place the sugar, eggs, cocoa, flour and baking powder in a bowl.
  4. Add the melted chocolate mixture and mix until combined.
  5. Mix in the white chocolate chips.
  6. Pour into a 23cm (9 in) square lined tin.
  7. Bake for 30-35 minutes or until set.
  8. Cool in the tin.
  9. Cut into slices and eat!
-------------

Make this recipe gluten and lactose free by;
  1. Ensuring your chocolate is gluten free - Lindt or Whittakers can be good for this.
  2. Using lactose-free margarine instead of butter.
  3. Using a gluten-free flour (White Wings gluten free flour is good)
  4. Omitting the white chocolate chips, or replacing them with chopped nuts of your choice, or more of the chocolate used in the batter chopped roughly.
------------

Sunday, 15 May 2011

Welcome!

So a few of us had the idea for a blog to share recipes, and other things we find interesting. Ever had that moment, where you eat something amazing, ask for the recipe, and never actually get it? This aims to stop that - all the contributors will be posting recipes that they love, have tried and tested, and found amazing.

If you are interested in contributing, comment on this, or talk to one of us, and we'll get in contact with you about it.

Welcome to our Cooking, Baking and More! Blog, we hope you enjoy!